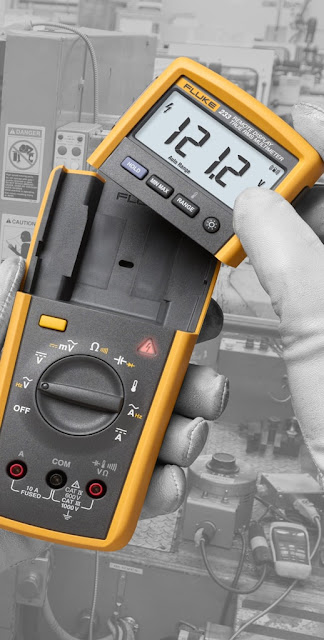
Hello Electrical Students and engineers, we are here with another tutorial of Fluke 233 wireless digital multimeter. It’s our third tutorial of this multimeter series and we will talk about measurement of Capacitance, continuity, temperature and frequency. For its brief description and other parameter measurements you may follow these links below.
How to measure capacitance with Fluke 233 wireless Digital Multimeter?
Steps for measuring Capacitances with Fluke 233 wireless Digital Multimeter:
- Select the capacitance ranges i.e. 1,000 nF, 10.00 µF, 100.0 µF and 9999 µF.
- Set capacitance value as per your requirement.
- Inside the com jack insert black lead.
- Inside the VΩ jack insert Red lead.
- Connect firstly the black lead to the circuit and after that the Red lead.
- Turn the dial to
 .
. - Note the measurement display on the screen. When you have noted the readings, first remove red lead from the circuit and then remove the black lead to avoid any electrical shock or damage to the device.
How to measure Temperature with Fluke 233 wireless Digital Multimeter?
Steps for measuring Temperature with Fluke 233 wireless Digital Multimeter:
- Connect a type-K thermocouple to the COM and VΩ terminals of the meter.
- Turn the dial to
 .
. - Push range button to choose Celsius or Fahrenheit.
- The temperature ranges are -40.0 °C to +400 °C and -40 °F to 752 °F.
- When the thermocouple is not connected, the display shows 0Pen while other temperature shows 0L.
How to test continuity with Fluke 233 wireless Digital Multimeter?
Steps for Testing continuity with Fluke 233 wireless Digital Multimeter:
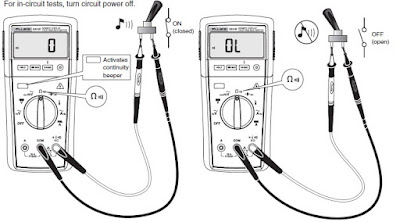
- Turn the dial to
 .
. - Inside the com jack insert black lead.
- Inside the VΩ jack insert Red lead.
- Connect firstly the black lead to the circuit and after that the Red lead.
- The continuity uses a beeper that sounds when a closed circuit is sensed.
- Note the measurement display on the screen. When you have noted the readings, first remove red lead from the circuit and then remove the black lead to avoid any electrical shock or damage to the device.
How to measure Frequency with Fluke 233 wireless Digital Multimeter?
Steps for measuring Frequency with Fluke 233 wireless Digital Multimeter:
- Set the meter auto ranges to one of four frequency ranges i.e. 99.99 Hz, 999.9 Hz, 9.999 kHz, and 50 kHz.
- Point the dial to Hz Ṽ for voltage and A Hz for current.
- Connect the meter to the signal source.
- Push
 for frequency measurement.
 - Frequency measurement is the count of the no. of times an ac voltage or current signal crosses a threshold point.
We always appreciate your suggestions.Have a look over this article.


One Comment